OUR SYSTEM
-

Authentication.
The SoundWaves mark will be embossed on ALL official prints. The presence of this embossed mark on your print will ensure it was hand pressed to certify the highest level authenticity.
-

Collaboration
The band, artist, or entity that we create with
-

Archive Indicator.
The letter indicates the year. The number indicates the order of production in the corresponding year.
-

Supply Indicator.
The diamonds indicate the number of prints created. Authenticated SoundWaves prints can be available in 1 thru 5 diamonds based on rarity. SoundWaves prints will never be re-printed & will rarely be available beyond 2 diamonds.
COLLECTION
-
![]()
C1 | SS | TULSA | 1DIAMOND
-
![]()
C1 | SS | TULSA | SHOW
-
![]()
B13 | WM | BAMA | 2DIAMOND
-
![]()
B13 | WM | BAMA | 1DIAMOND
-
![]()
B13 | WM | BAMA | SHOW
-
![]()
B20 & B21 | WM | HUGE UNCUT | 1DIAMOND
-
![]()
B20 | WM | HUNTSVILLE | SHOW
-
![]()
B21 | WM | MACON | SHOW
-
![]()
B19 | SS | HOUSTON | SHOW4
-
![]()
B19 | SS | SAN-ANTONIO | SHOW3
-
![]()
B19 | SS | ARLINGTON | SHOW2
-
![]()
B19 | SS | AUSTIN | SHOW
-
![]()
B18 | SS | DENVER | 1DIAMOND
-
![]()
B18: SS | DENVER | SHOW
-
![]()
B17: WM | LAS VEGAS | 5DIAMOND
-
![]()
B17: WM | LAS VEGAS | 4DIAMOND
-
![]()
B17: WM | LAS VEGAS | 3DIAMOND
-
![]()
B17: WM | LAS VEGAS | 3DIAMOND
-
![]()
B17: WM | LAS VEGAS | 2DIAMOND
-
![]()
B17: WM | LAS VEGAS | 2DIAMOND
-
![]()
B17: WM | LAS VEGAS | 1DIAMOND
-
![]()
B17: WM | LAS VEGAS | SHOW
-
![]()
B16: WM | SAN DIEGO | 2DIAMOND
-
![]()
B16 WM | SAN DIEGO | 1DIAMOND
-
![]()
B16: WM | SAN DIEGO | 1DIAMOND
-
![]()
B16: SAN DIEGO | SHOW
-
![]()
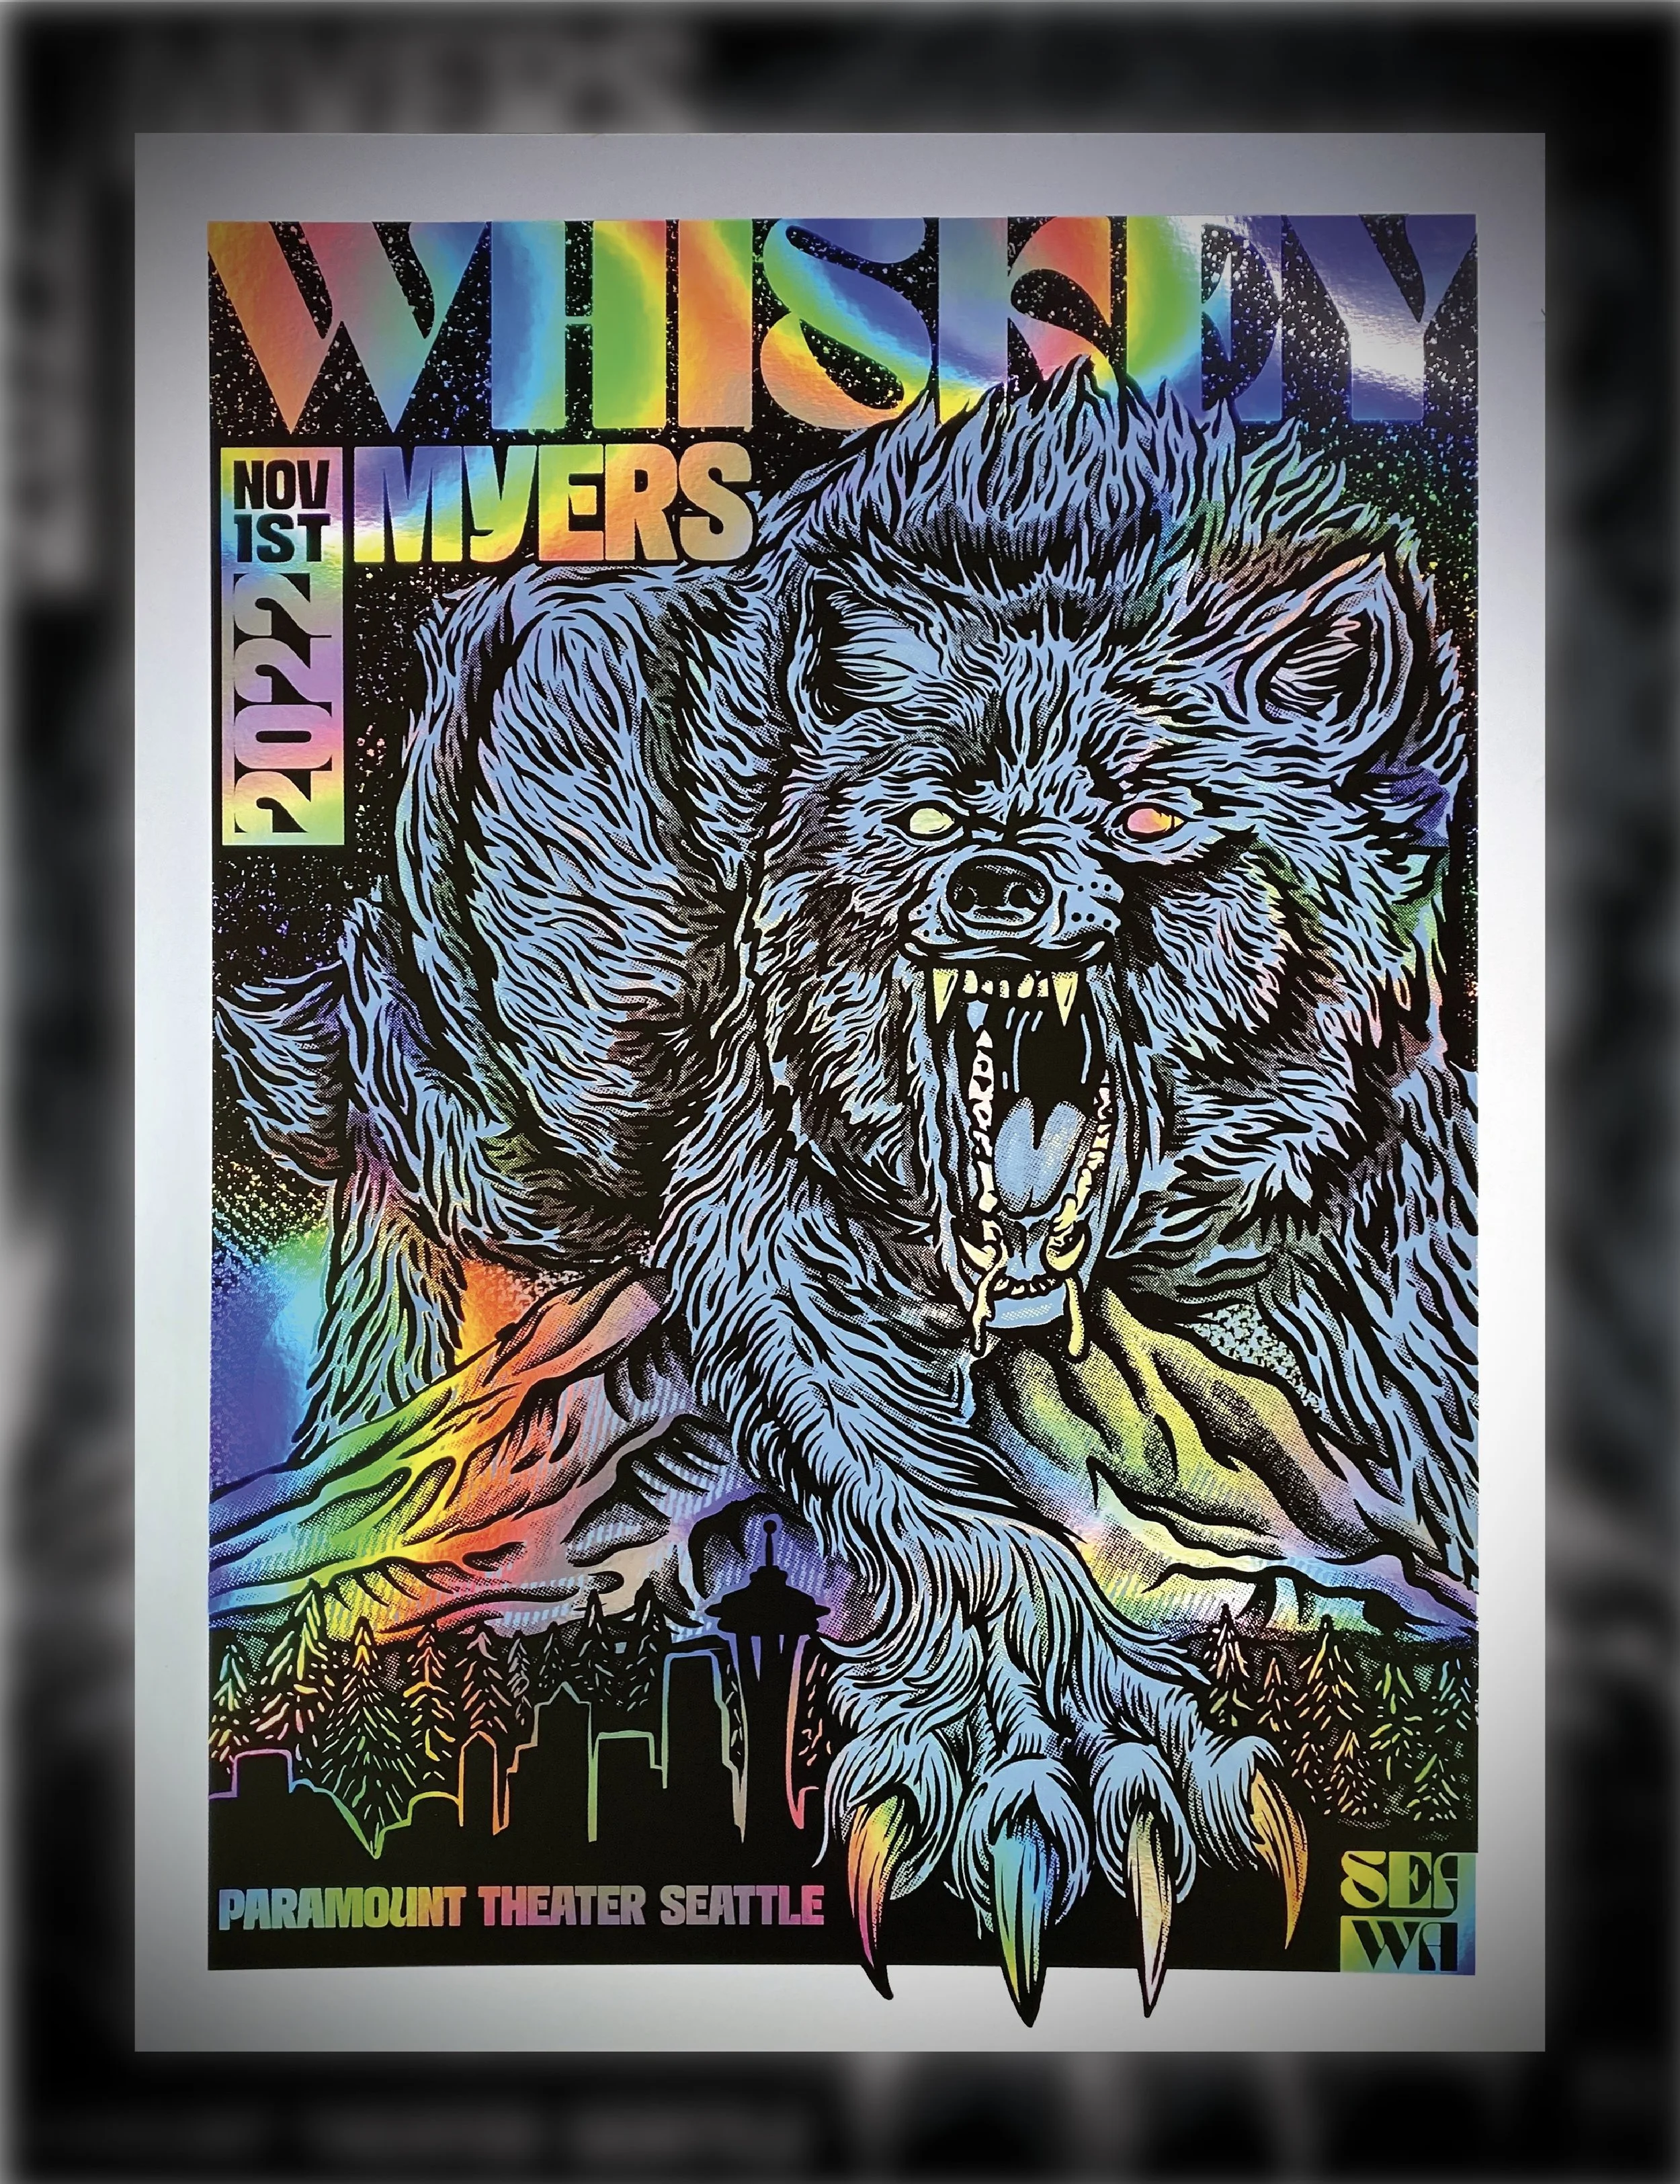
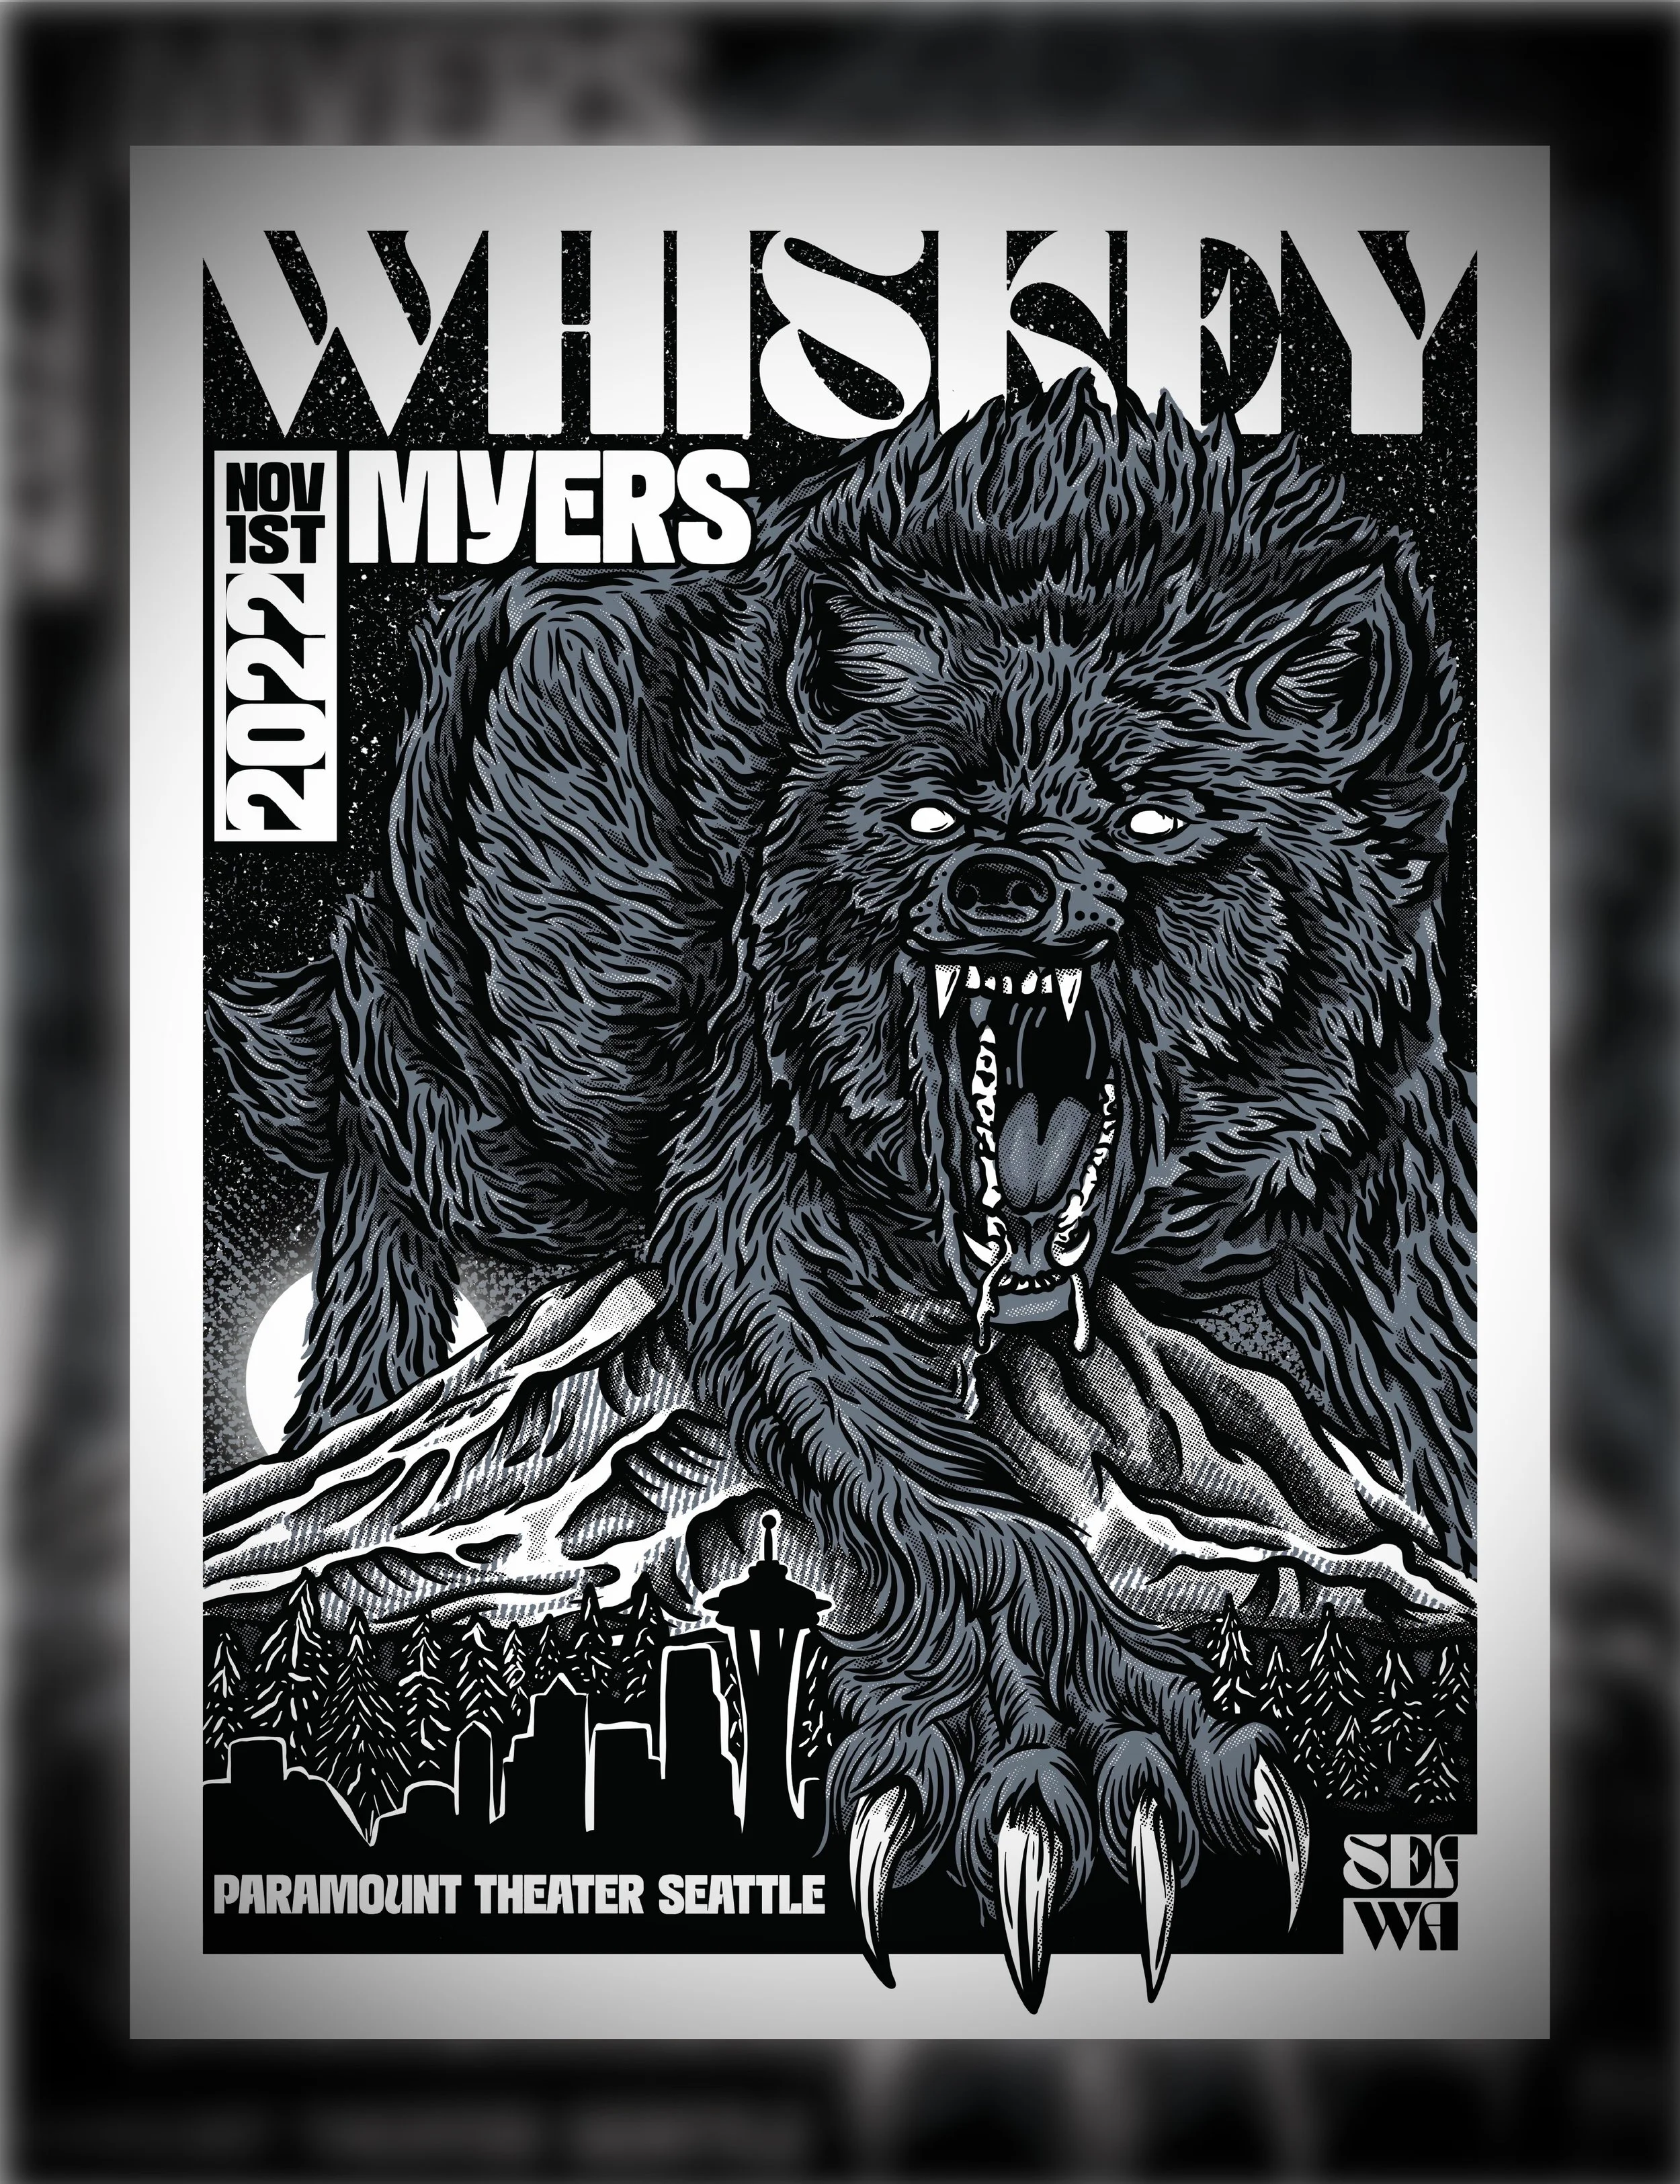
B15: WM | WOLF | SEATTLE | 3DIAMOND
-
![]()
B15: WM | WOLF | SEATTLE | 2DIAMOND
-
![]()
B15: WM | WOLF | SEATTLE | 1DIAMOND
-
![]()
B15: WM | WOLF | SEATTLE | 1DIAMOND
-
![]()
B15: WM | WOLF | SEATTLE | SHOW
-
![]()
B14: WM | FORT WORTH TX | 2DIAMOND
-
![]()
B14: WM | FORT WORTH TX | 2DIAMOND
-
![]()
B14: WM | FORT WORTH TX | 1DIAMOND
-
![]()
B14: WM | FORT WORTH TX | SHOW
-
![]()
B12: WM | THE WOODLANDS | 3 DIAMOND
-
![]()
B12: WM | THE WOODLANDS | 2 DIAMOND
-
![]()
B12: WM | THE WOODLANDS | 1 Diamond
-
![]()
B12: WM | THE WOODLANDS | SHOW
-
![]()
B11: WM | FIREWATER | 3 Diamond
-
![]()
B11: WM | FIREWATER | 2 Diamond
-
![]()
B11: WM | FIREWATER | 1 Diamond
-
![]()
B11: WM | FIREWATER | N2 SHOW
-
![]()
B11: WM | FIREWATER | N1 SHOW
-
![]()
B10: WM | Little Rock | 2 Diamond
-
![]()
B10: WM | Little Rock | 1 Diamond
-
![]()
B10: WM | LITTLE ROCK | SHOW
-
![]()
B9: WM | CHEYENNE | 1 Diamond
-
![]()
B9: WM | CHEYENNE | SHOW
-
![]()
B8: WM | MT | 1 Diamond
-
![]()
B8: WM | MT | SHOW
-
![]()
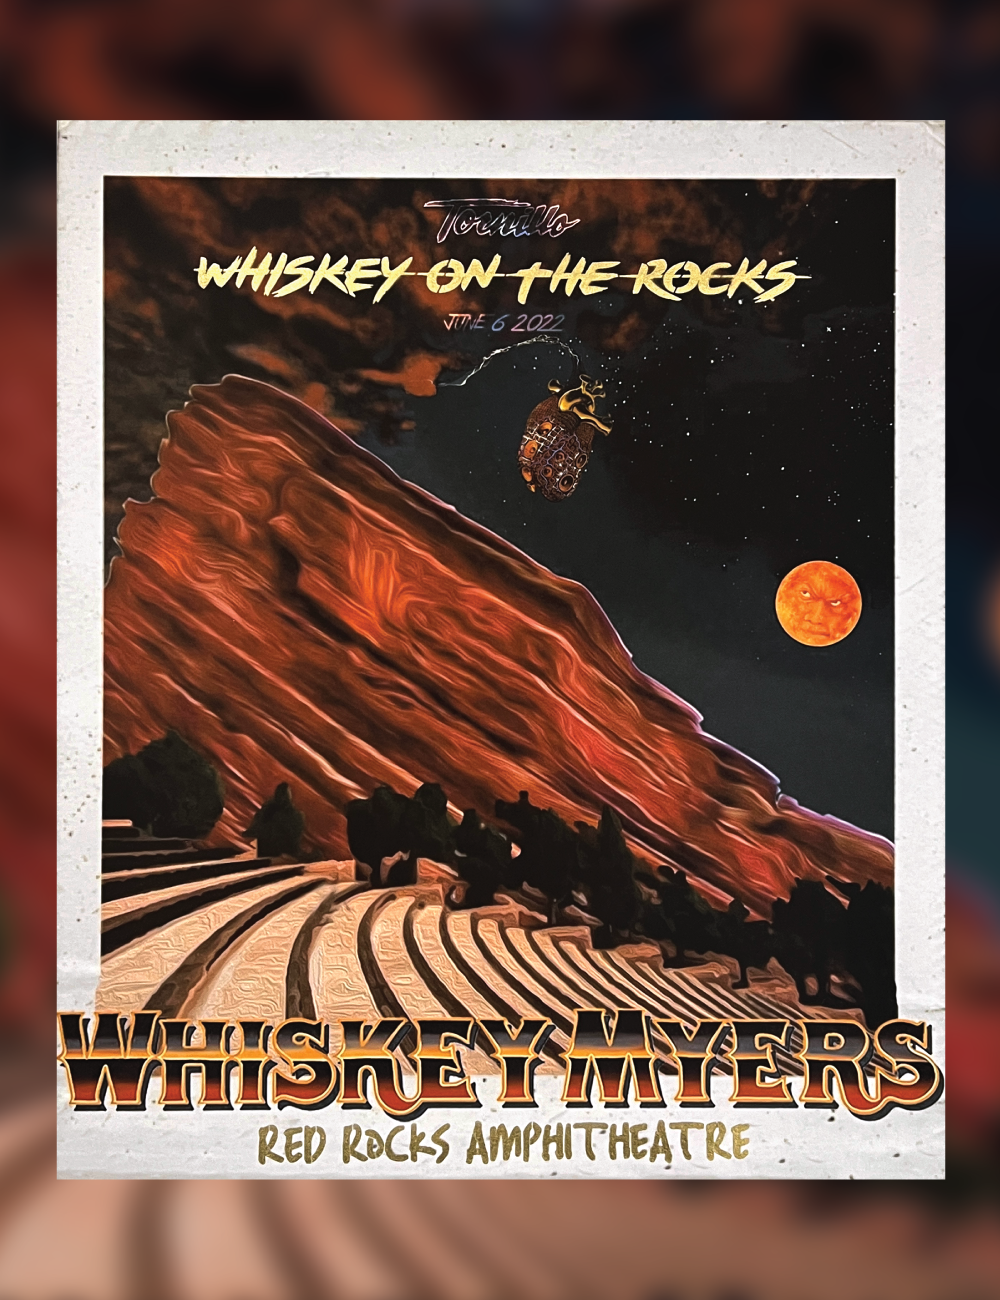
B7: WM | Tornillo Album | 1 Diamond
-
![]()
B7: WM | Corpus Christi | SHOW
-
![]()
B6: WM | St Augustine | 1 Diamond
-
![]()
B6: WM | St Augustine | SHOW
-
![]()
B5: WM | CHARLESTON | 1 Diamond
-
![]()
B5: WM | CHARLESTON | SHOW
-
![]()
B4: WM RED ROCKS | 1 Diamond
-
![]()
B4: WM | RED ROCKS | SHOW
-
![]()
B3: WM UNCUT | TX | 1 Diamond
-
![]()
B3: WM | NB TX | N1 SHOW
-
![]()
B3: WM | NB TX | N2 SHOW
-
![]()
B2: WM | ATL | 2 Diamond
-
![]()
B2: WM | ATL | SHOW
-
![]()
B1: WM | MN | 2 Diamond
-
![]()
B1: WM | MN | 2 Diamond
-
![]()
B1: WM | MN | 1 Diamond
-
![]()
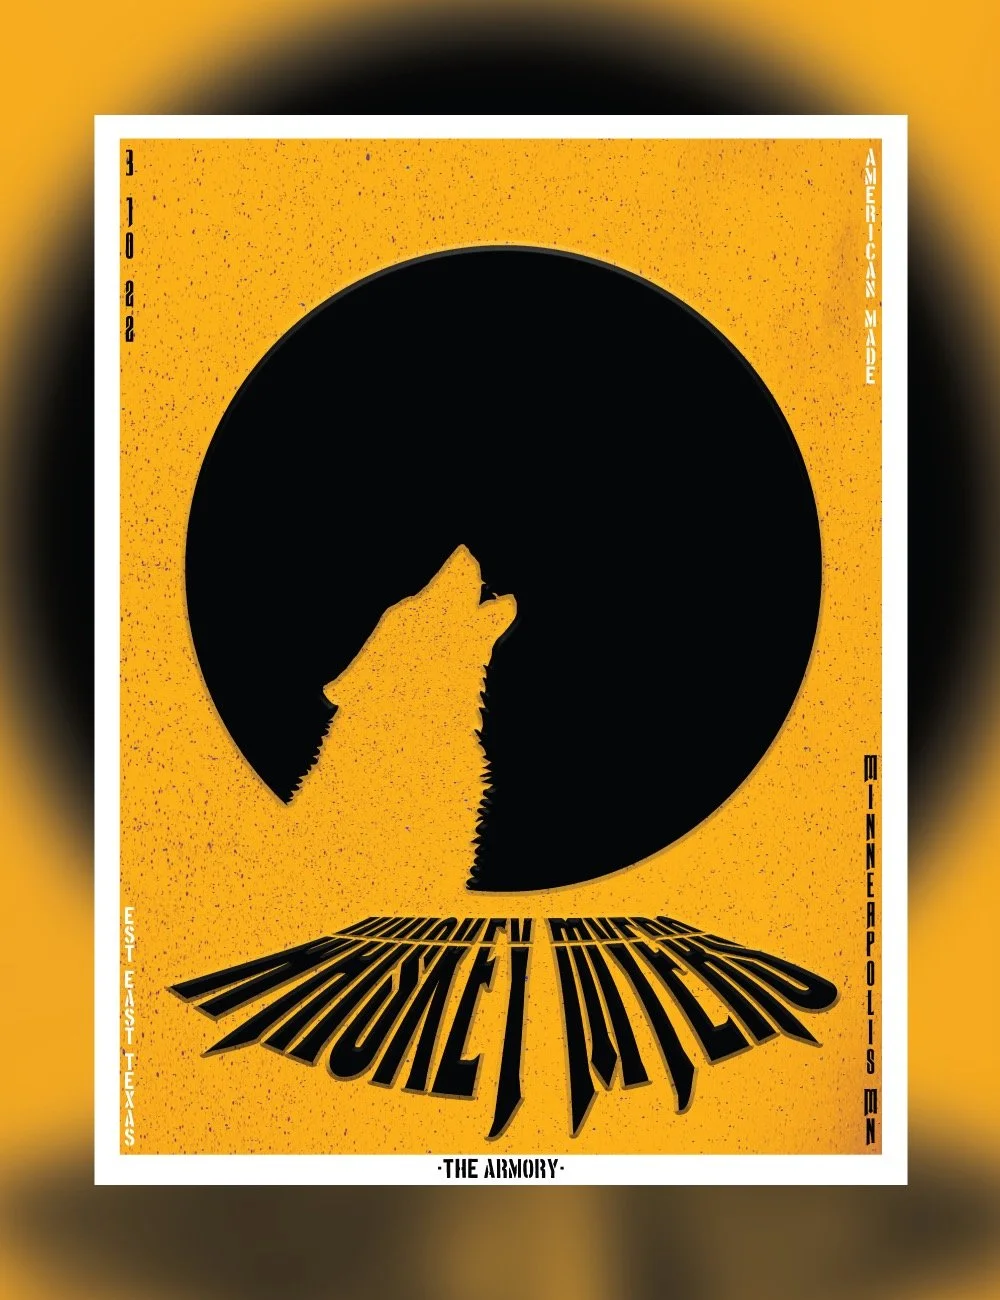
B1: WM | MN | SHOW


-
![]()
Whiskey Myers X SoundWaves Creative | B17 | Las Vegas | Print Release
-
![]()
Whiskey Myers Posters
A brief history of Whiskey Myers x SoundWaves Creative
-
![]()
Whiskey On The Rocks
-
![]()
Whiskey Myers Camo Print Series
-
![]()
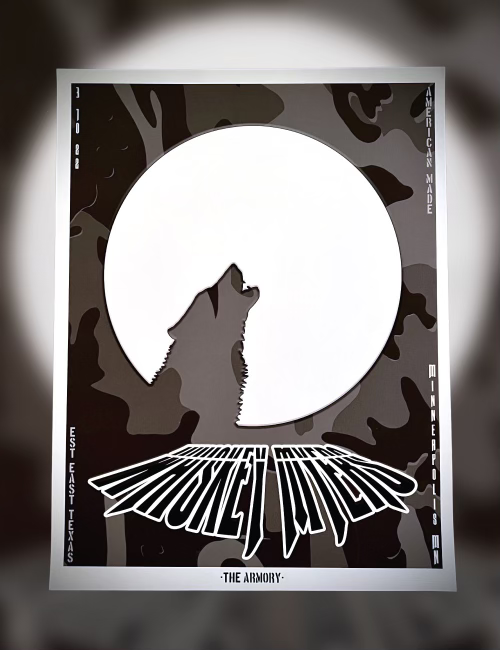
WHISKEY MYERS TAKES OVER MINNEAPOLIS’S ARMORY
-
![]()
SoundWaves x Whiskey Myers
-
![]()
SoundWaves x Whiskey Myers B1 Collection
-
![]()
Who We Are.
-
![]()
What We Do.